How to Grow Sweet Violets from Seed
Learn how to grow sweet violets or common violets from seed!
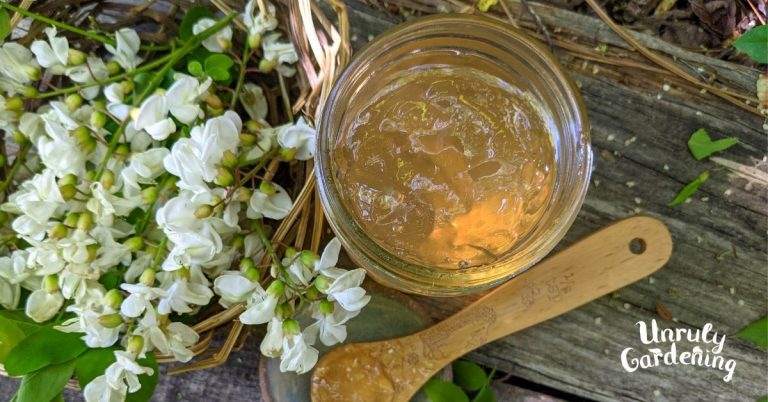
Violets are a delightful addition to your woodland garden or tucked into shady areas or pots around your house. The pretty purple flowers are used to make tasty jellies, syrup, and vinegars, and the leaves can be used to makes soothing salves or lip balm!

Types of Violets
Before we begin, let’s make sure we’re talking about growing the same kind of violets.
In this article, you’ll learn to grow sweet violets or common violets (wild violets) from seed. These include Viola odorata (the English violet with fragrant flowers) and V. soraria (common blue violet widely found in North America).
RELATED ARTICLE: Foraging Violets: How to Identify, Harvest & Use!
Common wild violets and sweet violets are in the Viola family, making them relatives to our more modern garden pansies and violas, which are covered in detail in our article: How to Grow Pansies & Violas From Seed. Violets are perennials that return and spread year after year, while pansies/violas are much shorter lived.
Here’s a photo of pansies and violas grown from seed. They’re started differently than the wild violet or sweet garden violet featured in this article.

We’re also NOT talking about the houseplant, African violets. Those are a completely different species, are not edible or used in the same way. We’ll cover how to grow those from seed in a future article!
Violets Need Patience & Chill Time
You’ll need to plan ahead when growing violets from seed. Unlike pansies and violas, you can’t just easily sprinkle the seeds over some soil, water and cover them, and expect rapid germination.
Violet are perennials and their seeds require a period of cold before they germinate. This technique is called cold stratification and it mimics what seeds would naturally experience if they were left out in nature over winter.
You’ll also need these things to grow violets from seed:
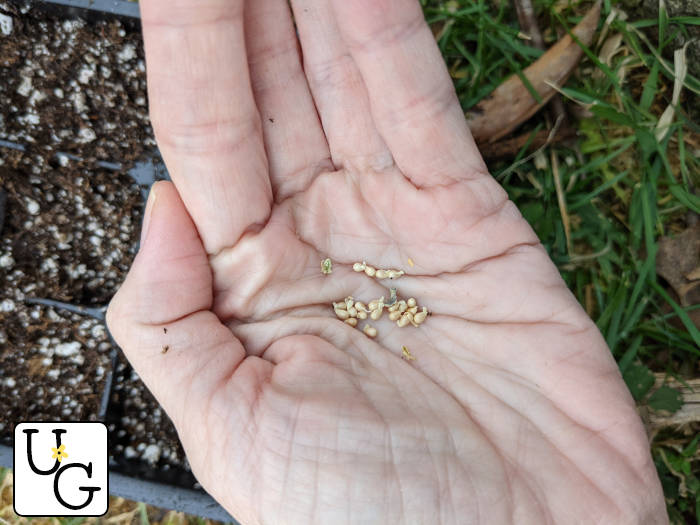
- Fresh Violet Seeds – Strictly Medicinal carries Viola odorata, the classic scented sweet violet, native to Europe.
- Growing Medium – We use Fox Farm’s Ocean Forest Potting Soil for almost all of our winter seed starts.
- Trays, Flats, or Pots – If winter sowing, we often use individual pots; when refrigerator sowing, we use 6 pack trays enclosed in freezer bags.
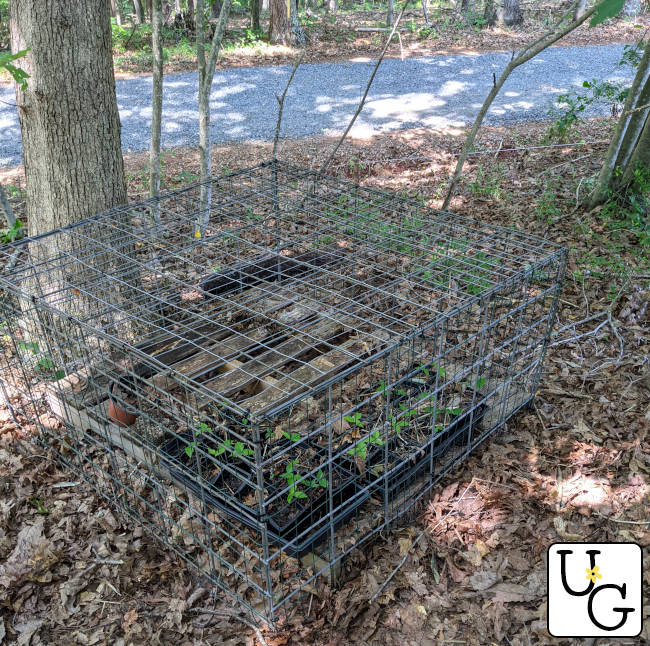
- An Undisturbed Spot – For winter sowing, pick a spot outdoors that won’t get trampled. We like to place a wire cage over the area. (See our Winter Sowing article.) For the fridge, make sure no one jostles the seeds around, drops them on the floor, etc. We bought an inexpensive second fridge for cold stratifying seeds, storing mushroom spawn, and holding extra fruits and veggies in the summer and it’s a gardener’s life saver!
Two approaches to violet seed germination:
Autumn or Winter Sowing
Fill a flat tray or individual pots with seed starting mix or potting soil.
Sow the seeds in flats and keep in a cool shady spot where they can be exposed to the rains, snows, and fluctuating temperature of winter and early spring. We use a protected winter sowing spot located at the edge of our woods for most plants grown this way.
RELATED ARTICLE: Winter Sowing Native & Woodland Plants
The main consideration with this cold treatment method is that while mother nature is doing all of the hard work, you still need to periodically check that the flats aren’t drying out and water as needed.
You can winter sow violet seeds in late winter, all the way up until about 4 or 5 weeks before your last frost date. They need at least 4 weeks of chill time to germinate.
If the seeds don’t get quite enough chill time to sprout, don’t throw the dirt away quite yet! They may germinate the next spring after going through another winter cycle.

Refrigerator Sowing
If you’re not able to obtain violet seeds in time for autumn or winter sowing, no problem! You can use your fridge to give them the cold period that they need.
To refrigerator-sow violets, we simply fix up a seed tray or two of soil and seeds, just as described above. Make sure your soil is moist, but not soggy or leaking water.
Pop each tray into a freezer bag and seal. Make sure the bag is labeled with the name of the seeds, date that you started them, and the date that she should remove them from the refrigerator.
For violet seeds, you’ll need a 4 week chill time in your fridge.
Monitor the seeds. Ideally, you should see nothing going on during this time – it should still look like a tray of dirt!
However, have faith that the cold time worked and remove from the fridge after 4 weeks!
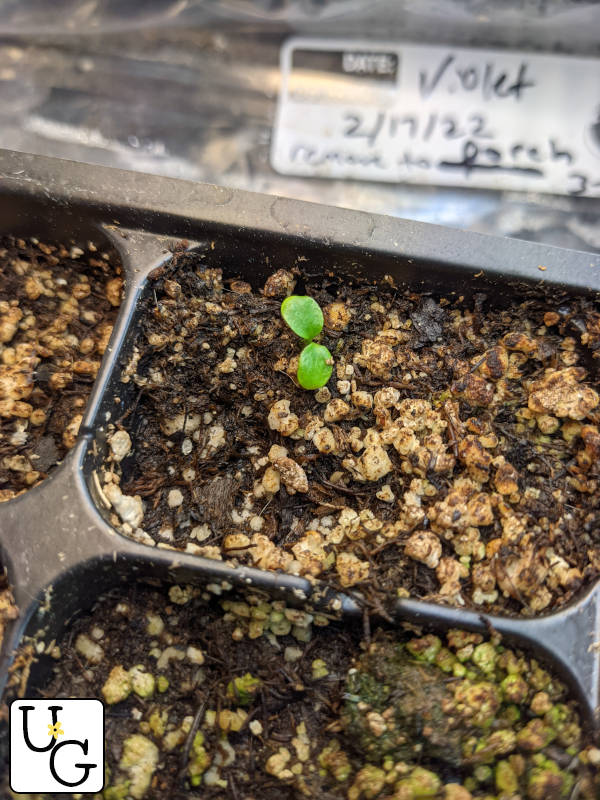
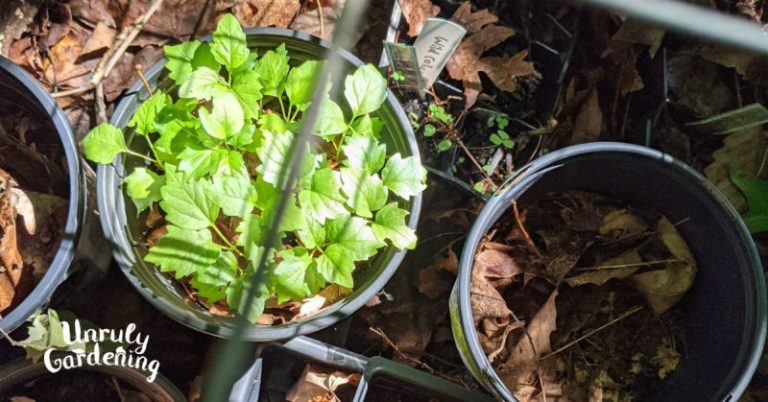
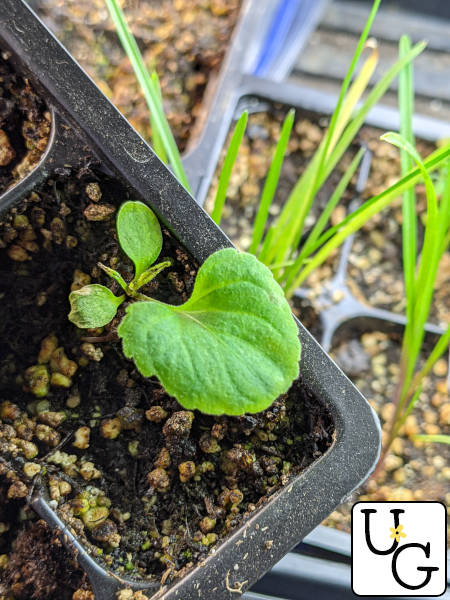
Baby Violets!
After 4 weeks in the refrigerator, you can remove the freezer bag (rinse, air dry, and save the bag for another seed starting project) and move the tray to a shady or semi-shady spot around your house. If possibly, leave it where nature can provide water, but check once or twice a week to make sure the soil doesn’t become too dry.
Beware of leaving them in non-draining trays or you could accidentally end up drowning your seeds and seedlings!
If you’re autumn or winter sowing, just keep the trays in the same spot, checking on them every week.

Eventually, as the weather warms to springtime temps, you should start seeing sprouts! Don’t despair if all of the seeds don’t germinate. Some of them may need more time. You can transplant out the baby plants that sprout and grow, but keep the remaining seeds and dirt undisturbed and in the same tray. Return it to its spot and let mother nature keep working on it. You may just find some sprouts the following spring!
Violets aren’t fussy – they’re quite tough once they get established. We don’t fertilize or do anything special to our violets, other than provide them with their favored growing conditions.
Growing Conditions for Common or Sweet Violets
Violet is known as cooling and moistening in the herbal world, and this also lines right up with where it likes to grow!
You’ll find violets favor shady or partial shade areas that don’t easily dry out. They will not be happy in full sun during the hottest, driest summer weather. They will however, enjoy the coolest shadiest spot in your yard – under an old walnut tree perhaps, or tucked into the moist, shady soil found on the north side of your house. (Yes! Violets can grow around black walnuts just fine.)
Over time, violets will spread to form a perennial ground cover that’s especially beautiful in spring when covered with purple blooms. The plant is also needed as a host plant for some butterflies and moths, most notably Fritillary butterfly larvae.
Be aware that the moist conditions violets enjoy are also cozy spots for slugs and snails. While we don’t have a huge problem with those garden pests here, we do find the occasional slug on a violet leaf.
Some gardeners (though not us!) consider them weedy, so don’t plant them in things like oft-used veggie beds, because they will take over a spot.

Violets are a favored host plant for many caterpillars and butterflies, violet flowers can be used to make yummy jellies, syrups, and vinegar, plus violet leaves are valued in herbal medicine.
If you get the chance, we hope you try growing some!

Be sure to also check out our article:
Foraging Violets: How to Identify, Harvest & Use!
Our articles are for information and idea-sharing only. While we aim for 100% accuracy, it is solely up to the reader to provide proper identification. Be sure to seek out local foraging classes and plant walks, and invest in foraging guides suitable for the area you live in, since some wild foods may have adverse effect.
[print-me target=”body”/]