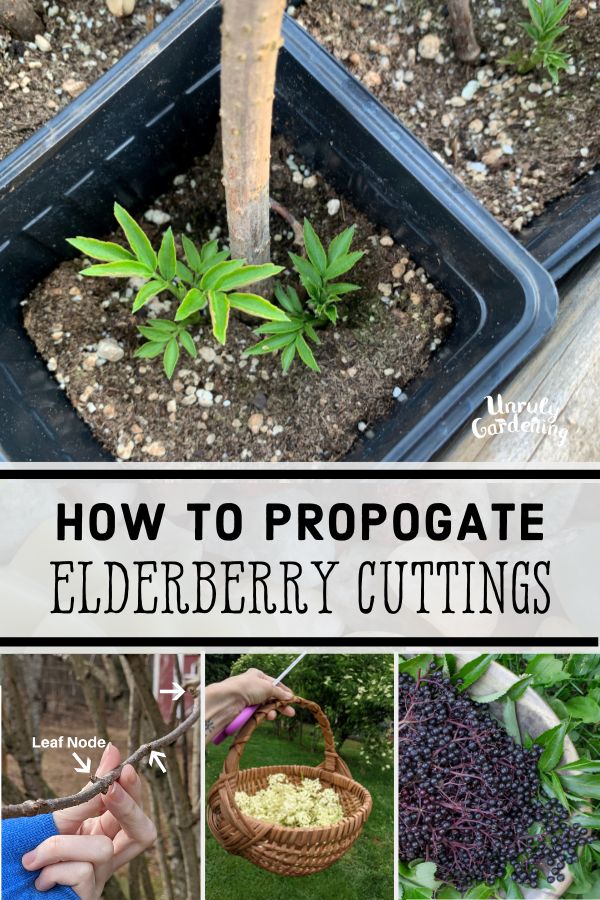
How to Grow Elderberry From Cuttings
Elderberry propagation might sound tricky and intimidating, but it’s simpler than you’d think! In fact, between creating clones via cuttings or starting new plants from seed, growing elderberry from cuttings is actually the easier way to get your hands on new plants!
With just a sharp pair of pruning shears, a pot of soil, and a healthy elderberry tree, you’ve got all you need to try this method out for yourself. Read on, if you want to find out how!
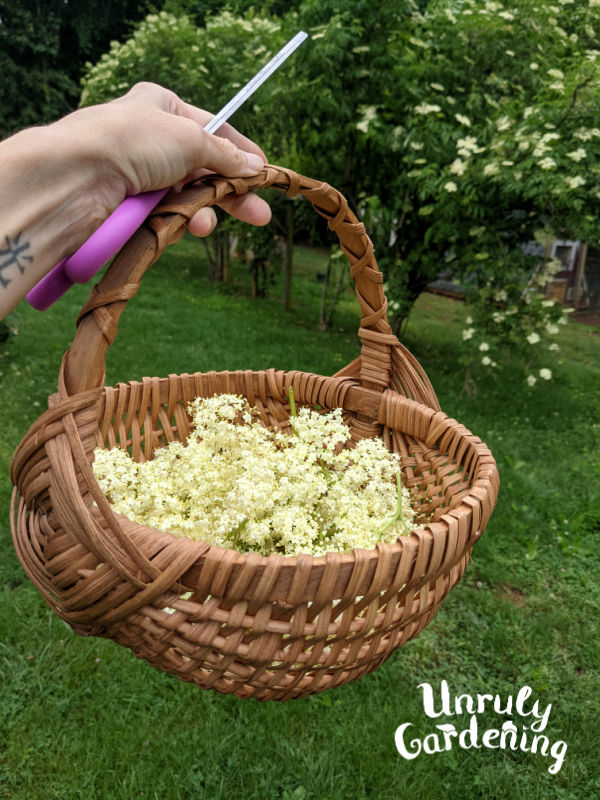
RELATED ARTICLE: Elderberries: How to Harvest, Preserve & Use!
Taking the Cuttings
Take elderberry cuttings in winter or very early spring, from dormant canes. These are known as hardwood cuttings. January to February is the best time in our area (Zone 7a). You can take cuttings all the way up to the first signs of leaf-buds, if needed – some say all the way up to late March is still a good time!

When selecting branches for your cuttings, take them pencil thick, ensuring there’s 2-4 leaf nodes per cutting. Pay attention to which way the branch is pointing as you cut. Cut the tops of the cuttings flat, and the base of the cuttings at an angle, making a diagonal slant.
Place cuttings in a glass or bucket shallowly filled with water as you cut them. Don’t completely submerge the cuttings, but make sure the diagonally cut side is pointing down and covered by water.

Planting
Fill some 4 inch pots with pre-moistened potting soil. 4 inch pots can hold one cutting per pot- larger pots can hold more, but don’t overcrowd. Make sure your pots have drainage holes.

Take a cutting, and, diagonal-side down, insert it into the moistened soil, sticking straight up. The cuttings should have at least 1 set of leaf nodes covered by the soil, and at least 1 set of leaf nodes above it. Firmly tamp the soil around the elderberry cuttings.
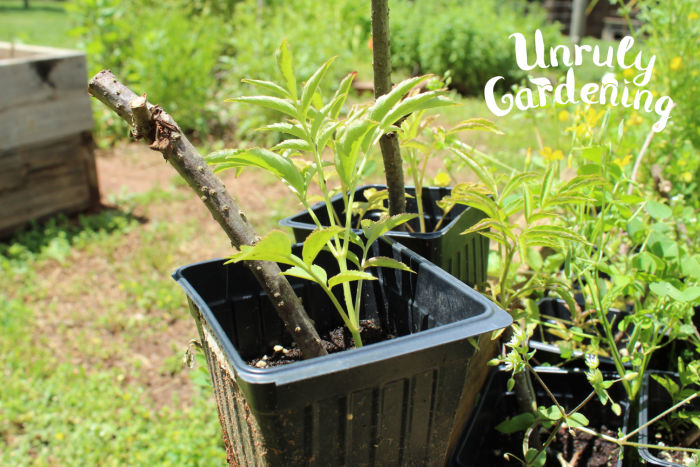
Place the pots in a cool, shady location where they’ll be undisturbed, such as the edge of the woods, and keep moist. Some people use a clear plastic bag to make a greenhouse top, but this isn’t required- we don’t use it.

Leave them undisturbed for 6-12 weeks, unbothered beyond keeping them watered, and resist the urge to fiddle with them. Pulling them up to see if there’s any rooting can break those same fragile new roots right off!
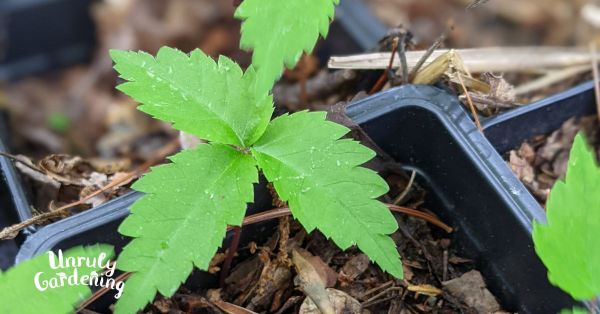
In 6-12 weeks, you should begin seeing new growth.
Transplanting Young Elder Plants
Are they rooted yet?
Just because your plants are showing some green, it doesn’t mean they’re ready to plant, not quite yet!
Sometimes cuttings start putting off green growth without having put out roots first. You don’t want to turn them out their pots to check, because that would disturb the process, but you do want to make sure your cuttings are actually rooting. So how do you do that?

It’s easy! Just take your thumb and forefinger and gently tug on the cutting you took. No strong force behind it! If the cutting starts to move- if it feels like you could just pull it right out the soil with no resistance- rooting is nonexistent or extremely minimal.
However, if you feel resistance, the cutting has likely started to root. If it feels as though it doesn’t want to budge from the soil in the slightest, very solidly in place, then it’s absolutely rooted!
When and How to Transplant
To ensure the roots are capable of handling transplant, after the cuttings have shown signs of rooting, we like to wait about more 4 weeks for the cuttings to develop a strong root system.
Once you’re sure the cuttings are well-rooted, you’ll want to choose a spot to plant your elderberries.
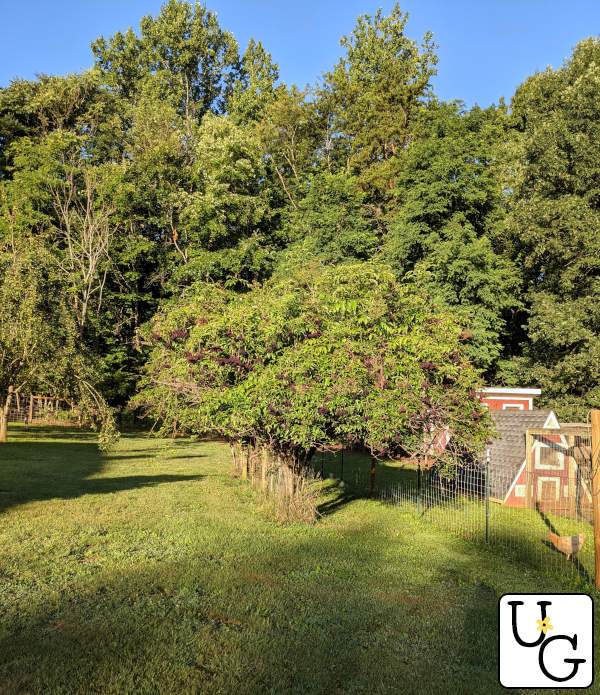
Elderberries are hardy, but they do poorly in very dry conditions. Too much shade or indirect light will prompt low berry production. About 6-8 hours of sunlight is a nice amount for an elderberry, so a nice sunny area is preferable.
If your elderberry doesn’t like where it’s been planted, like most plants, it will end up stunted or dying. If this happens to you, make note of the location, and try a different spot!
Make sure you allow enough room for the plant to grow where you plant it- elderberries often end up around 10 feet tall, and can get up to 8 feet around.
As with many plants, elderberries delight in a good, loamy, well-draining soil. If you don’t have that naturally, then you’ll want to add a good-sized helping of compost to your soil when you dig the hole to plant your elderberry cuttings. 50% compost, 50% original soil is what you should aim for, but it’s fine if you need to give less. Just make sure there’s something in there to give your elderberries some nutrients!
Plant the elderberry so its base will be even or just below the edge of the hole. Tamp the soil down well with your hands or feet, and slowly give the cutting 1 gallon of water. Once water has soaked in, layer on 2-3 inches of mulch.

You’ll Want 2 Varieties
Another thing to keep in mind is that in order for an elderberry to fruit well, you should have two different varieties or cultivars of elderberries placed, at minimum, within 100 feet of each other- preferably closer, but 100 feet will still do the job. The closer the two varieties are, the better the pollination will be.
This doesn’t mean you have to have a blue and a black elderberry- you can have just blue elderberries, or just black elderberries, but you need to make sure you have two varieties within those colors for the best fruiting.
If taking cuttings from elderberries that you don’t know the varieties of, you’ll want to make sure you take cuttings from two different bushes, keeping the cuttings separate and in different containers. Label clearly, and plant in pairs!
If it turns out that even with these measures, your elderberries still won’t fruit well, then it’s possibly that the cuttings you took from both plants may have been from the same variety. Either obtain cuttings from a different bush, or order 1-2 varieties online- if you get two, then you’re guaranteed that one of them isn’t the one you’ve currently got!
Care for Elderberry Cuttings
As a hardy plant that grows wild in many places, you’ll find you won’t have to babysit your elderberry cuttings but so much. They’re extremely quick-growing, growing feet at a time per year, but their first year is the slowest, and they’re a bit more fragile now because of it.
The main two things to be concerned about in the first year are weeds and water. Elderberries are shallow-rooted, so you’ll want to pull out any weeds you see encroaching on the plant by hand. They’ll also do best with a deep drink of water every week.
Making it a weekly routine to pull any weeds and water your planted cuttings will go a long way towards ending up with healthy, beautiful elderberry plants, but don’t fret if you end up missing a week- remember, these tough plants end up growing in all sorts of places, thanks to the reseeding efforts of wild birds!
The last thing to do is pinch off any flower buds or flowers you notice in the first year. The elderberries should be putting their energy towards growing a strong root system in their first year of life, not making berries!
Beyond the First Year
In the second year and beyond, your elderberry’s got its roots well established! By the third year, it should have a good taproot going. And you’ll likely be surprised at how quickly it grows!
Care-wise, do some occasional weeding, top up the mulch every spring, and once your elderberry hits its fourth year of life, it’s a good idea to get your hands on a nice pair of pruning shears and start taking out the dead wood each spring or winter.
The main thing to keep an eye on, no matter the age of your plant, is drought weather. Elderberries produce less fruit in drought years, but watering them well once per week in those dry conditions can encourage a big fruiting, even if it’s been a dry year.

When will I get a harvest?
Your first berry harvest will be in the second year. Flowers are also harvestable in this year, but it’ll affect the size of your berry crop, so pluck lightly, and only if you’re willing to give up a berry cluster for each flower head!
Your first big harvest will be in the third year. Flowers and fruits alike should be abundant! You should have plenty of both to do whatever you want with them.
Having trouble telling when your elderberries or ripe, or just want some ideas for what to do with your harvest? You might be interested in checking out our other post, Elderberries: How to Harvest, Preserve, & Use.
Or if you’d like a way to use your elderflowers, why not take a peek at our sweet, multi-flower no-can Cottage Flower Jelly recipe?