How to Plant & Grow Potatoes
Now that you’ve chitted your potatoes, they’re ready to plant and grow in your garden!
There are several ways to plant potatoes, including planting them in hay bales and containers. This article focusses on planting them directly in the ground. These instructions can also be used for planting potatoes in raised beds.

Preparing the Soil
When planning where you’re going to plant potatoes, avoid planting them where you have planted tomatoes, peppers, or potatoes in the previous couple of years. Rotating plants in the same family – in this case, the nightshade family- avoids build-up of plant diseases and pests in the garden.
You’ll also want to pick a growing location that has ready access to a water source and is in full sun, or at least 6 hours of direct sunlight per day.
As a crop that produces its harvest in the form of tubers underground, it’s important to try and provide a growing location that has light, loose, deep, and well-draining soil. This can be challenging if you have naturally heavy clay soil where you live, like we do.
Heavy, compacted soil can cause problems for your potatoes, up to and including a reduction in end crop yield. Persistently wet and cold soil will cause rot.

Small Plantings
Small plantings can sometimes be worked by hand, using a garden fork to break up, lift, and lighten the soil. Try to do this 8″ down. Work in compost to help loosen heavy clay. In the case of planting in a raised bed, you will still likely want to add compost to replenish the nutrients taken from the soil by last year’s plants.
Toss out any rocks you encounter as you go, and finish up by raking the soil smooth on top. Try not to step on your worked soil, so as to avoid compacting it.
Larger Plantings
While we try to avoid deep tilling when possible, planting enough potatoes for our family in the year is simply not possible to fit in our raised beds. These instructions are how we prepare the soil for planting our potatoes up in the field.
Till the plot deeply, so the soil is as loose as possible, tossing large rocks out of the soil as you encounter them. If possible, try to till 8″ down. Add compost to the soil to be worked in as you till.

Nutrients & pH
The ideal pH for potatoes is anywhere between 5.8 to 6.5. They can survive out of this range, but they often end up suffering for it.
Potatoes grown in alkaline soils will be sensitive to ‘scab’, which is not a harmful disease, but does cause rough spots on the skin of the potatoes. However, they also will have problems with absorbing nutrients from the soil, even if you fertilize them.
Acid soils also will interfere with nutrient uptake. In both cases, the plants may be unable to take up phosphorus, which causes yellowing leaves, and is an important nutrient.
Amend your soil as needed to correct pH, should you find yourself struggling to grow potatoes. It’s a good idea to use a home test to test your soil before planting for the first time in a new garden, just to check on things.

Planting
Potatoes are planted 3-5 inches deep in trenches. Use a warren/ridging hoe (the one shaped with a triangular point) to create your trench. Before planting your potatoes, go down the trench you just made, and sprinkle granular fertilizer (see the section on that below) all the way down it.
Plant potatoes 1 foot (12 inches) apart, sprouted eyes facing up, in rows that are 30-36 inches apart. Make sure not to break the eyes off while planting!
After you’ve planted all your potatoes, go back down the row, covering them up and tamping the soil down with your hoe.
It’s ideal to do this the day before a rain, so that the sky will water the newly planted potatoes for you. If this isn’t possible, run a sprinkler or drip tape on the plants to thoroughly water the soil.
Potatoes should emerge from the ground in 2-4 weeks. Should it not rain for a week and the soil appear to be drying out, provide water. Err on the side of caution, and test the soil with a finger before watering – too much moisture will rot your potatoes!

Fertilizing
Potatoes are heavy feeders. This translates to a need to fertilize them more than once per growing season.
What we do is fertilize our potatoes every time we hill them, which is usually 2-3 times throughout the plant’s lifespan. We also provide fertilizer right at the start of the season in the trench the potatoes are planted in. We find this is more than enough to produce a beautiful crop of potatoes.
In our garden, we use a granular organic fertilizer by Espoma called “Garden Tone”, which is a 3-4-4 fertilizer. (We also don’t actually measure the amount used beyond ‘a handful’ around each plant, which we realize is not a reliable measurement!)

Care
Stress caused by lack of moisture will impact crop yield. If you have problems with knobby and/or hollow potatoes, as well as low numbers of potatoes per plant, it’s possible they needed more water than they were getting.
1-2 inches of water per week is the goal, especially once the potatoes begin flowering. Stop watering entirely when the foliage starts yellowing and falling off, and go easy on the water right after planting the seed potatoes in order to prevent rot, but at all other times, that 1-2 inches of water to maintain even moisture is vital.
Weeds are big competition for potatoes, and so they’re also a big problem. Regularly go out and remove weeds from your potato patch. It’s best to use a stirrup hoe, which cuts off the weeds at soil level, than risk disturbing your potato’s roots by pulling the weeds up.

Hilling (or Straw-ing)
Hilling is done when your potatoes are 6-8 inches tall, and is usually done 2-3 times total throughout the growing season.
You simply use a hoe to mound up soil around the plant to create the hill, leaving the top leaves showing above the ground. Once the plants have grown another 6-8 inches, repeat. Just keep going every time the plants grow another 6-8 inches, and stop once you can no longer easily mound up soil, or the plants have started to meet one another in the rows.
Hilling is also done to help avoid exposure to sunlight on the forming tubers. Tubers that are exposed to sunlight turn green, and are not edible. If you see a green tuber while harvesting, in fact, it’s one to toss!
An alternative to hilling is applying thick layers of straw as the potato grows. This also protects the tubers and keeps them from turning green. Both ways have worked for us, but we don’t always have a good supply of straw each year.
It’s assumed that every kind of potato is supposed to be hilled as they’re grown, but this is not strictly true. There are determinate and indeterminate potato varieties, and it’s only indeterminate potatoes that will do anything when hilled.

Determinate vs. Indeterminate
Indeterminate potatoes are the ones that set out extra potatoes from the buried portion of the plant when hilled. These varieties are the ones that you want to hill up, and as frequently as possible, because it will directly result in a bigger harvest.
Determinate potatoes do not have their end yield impacted by being hilled. It’s a good idea to mound a bit of dirt around them anyway, just to protect the tubers from light exposure, but they won’t put out extra potatoes from the plant like indeterminate potatoes will.
Determinate potatoes also tend to produce slightly earlier than indeterminate varieties. To figure out if the potatoes you’re planting are determinate or indeterminate, look them up by name.
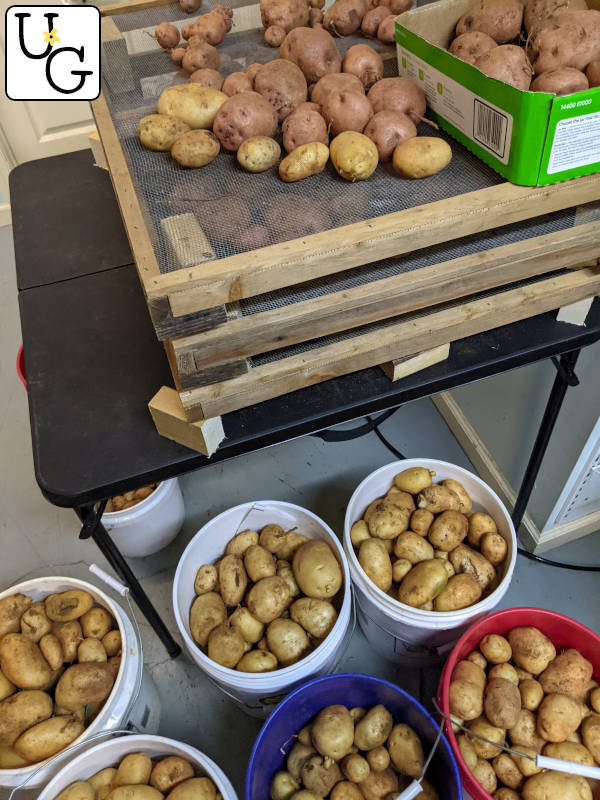
Next Step – Harvesting & Storing!
Once your potatoes are all grown up and ready to harvest, check out the third article in this series:
Harvesting & Storing Homegrown Potatoes
(If you missed the first article in this series, it was: How to Chit Potatoes for Planting.)


