Strawberry Rose Freezer Jam
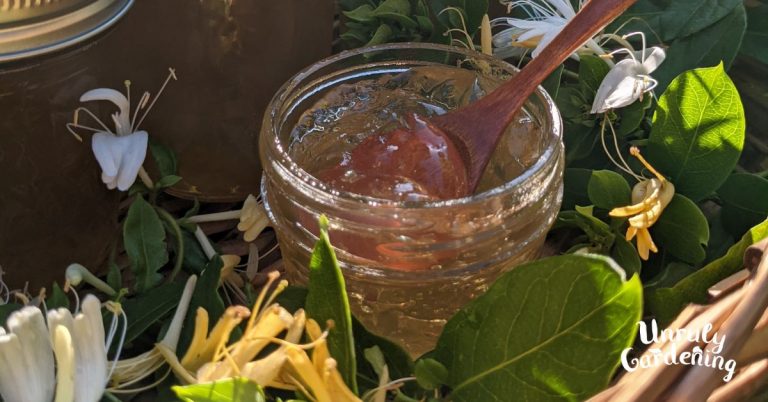
This delicious freezer jam features fresh strawberries and rose petals. It’s quick and easy to make – no canning required!

Ingredients:
- 2 cups chopped strawberries
- 1 cup fresh rose petals
- 1 tbsp lemon juice (or balsamic vinegar)
- 1 tbsp water
- 1½ cups sugar
- 3 tbsp low/no sugar fruit pectin
- 1 cup water

Preparing the Roses:
Collect your rose petals off of unsprayed roses, packing them fairly tightly into the measuring cup as you go. Give them a quick rinse and pat them gently dry once back inside.
The white base at the bottom of each petal tends to be bitter, and can give your jam an undesirable taste if it’s left on. Snip it off with a pair of scissors (see Cottage Flower Jelly for pictures on how to do this!), and keep the upper part of the petal. The white bases can be composted, if you so desire.
Making the Freezer Jam:
Now that you have the rose petals prepared, place them in a food processor, drizzling in the water and lemon juice (or balsamic vinegar), and processing until smooth. It should all be evenly blended, with no large pieces of the petals floating around.
Next, chop up and add your strawberries to the food processor. Pulse them just a few times- just enough to mix the rose petals with the fruit, and letting the fruit get chopped up a bit by the processor. Make sure to stop well before the fruit ends up being a puree.
At this point, we leave our strawberries and rose petals where they are at the moment and go over to the stove instead. Measure your sugar and pectin out into a heavy-duty saucepan, and stir, off the heat, to mix them together. After doing that, add 1 cup of water to the sugar-pectin mix, and place the pot over a burner set to medium-high heat.
Stirring constantly, bring your sugar, pectin, and water mix to a boil. Boil for one minute, then immediately remove from heat. Add your strawberry-rose blend directly to your molten sugar-pectin mix, and stir for one minute to combine. You now have a pot full of very hot jam!
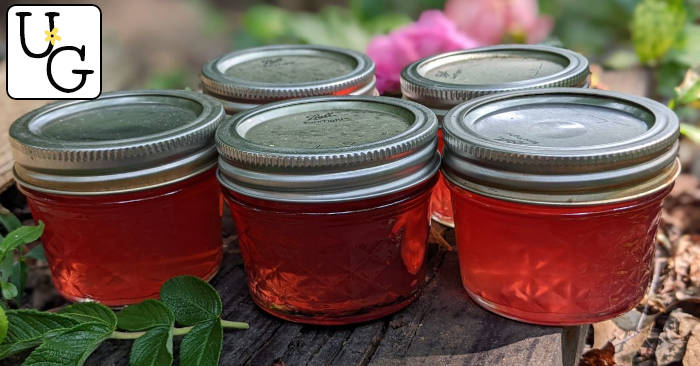
Working quickly so as not to let the jam cool down much on you, ladle the jam into freezer-safe (and heat-safe!) containers. Small, freezer-safe jelly jars are ideal for this. Make sure to leave a ½ inch headspace while filling, as the jam will expand somewhat as it freezes. Secure the lids of the containers on their tops, and let the jelly sit for 24 hours, undisturbed.
Storing & Shelf Life:
After 24 hours, put your jars in your freezer, and let it freeze! Your freezer jam will now last, exactly as it is, for up to a year. And no canning involved at any point!
To use your freezer jam, set out a jar to thaw in the refrigerator. It should be soft enough to eat by morning, if left to thaw overnight. Keep in the refrigerator and use up within one or two weeks after thawing.