
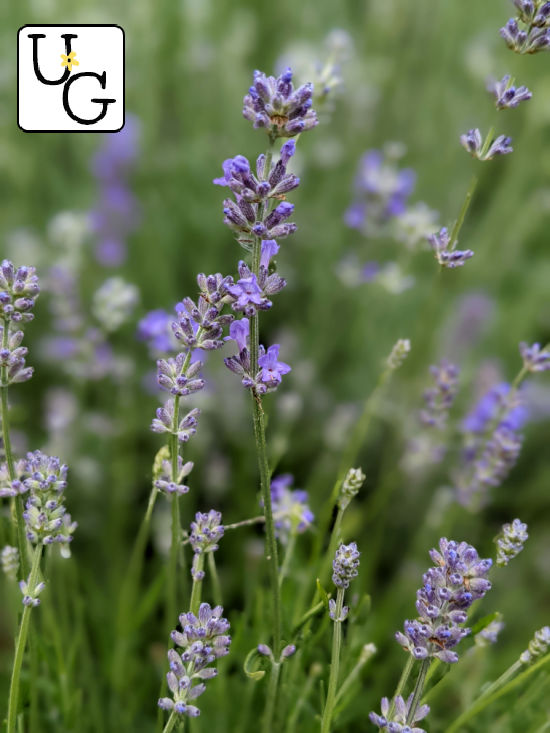
Growing & Harvesting Lavender
Learn how to grow lavender from seeds or cuttings, tips on pruning, watering, and other growing requirements, then how to harvest and dry the flowers and leaves!
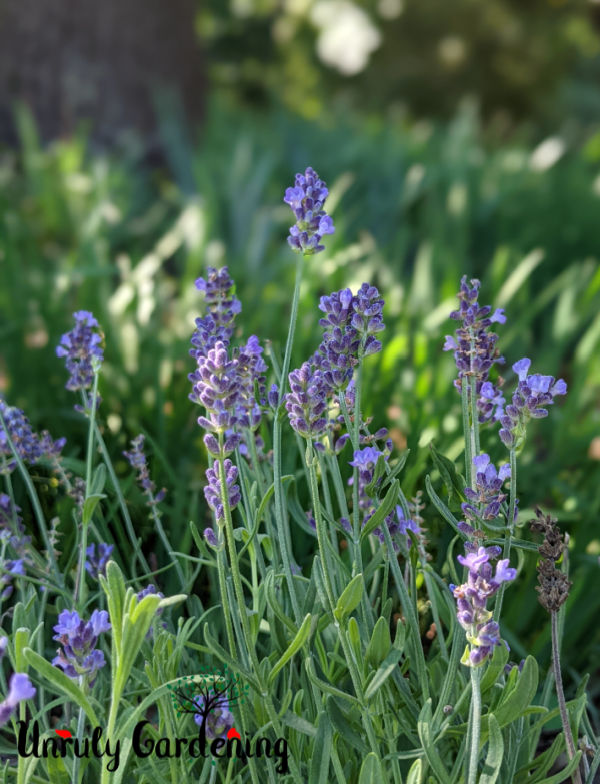
Want more lavender in your life and flower beds? Try growing your own plants from seed or cuttings!
How to Grow Lavender from Cuttings
Rooting or propagating your own lavender cuttings is a fairly quick and easy way to multiply your existing lavender collection.
Step 1: Prepare the Pots
Fill any sized pot with organic potting mix and soak well, making sure the soil in the pot is moist all the way through from top to bottom.
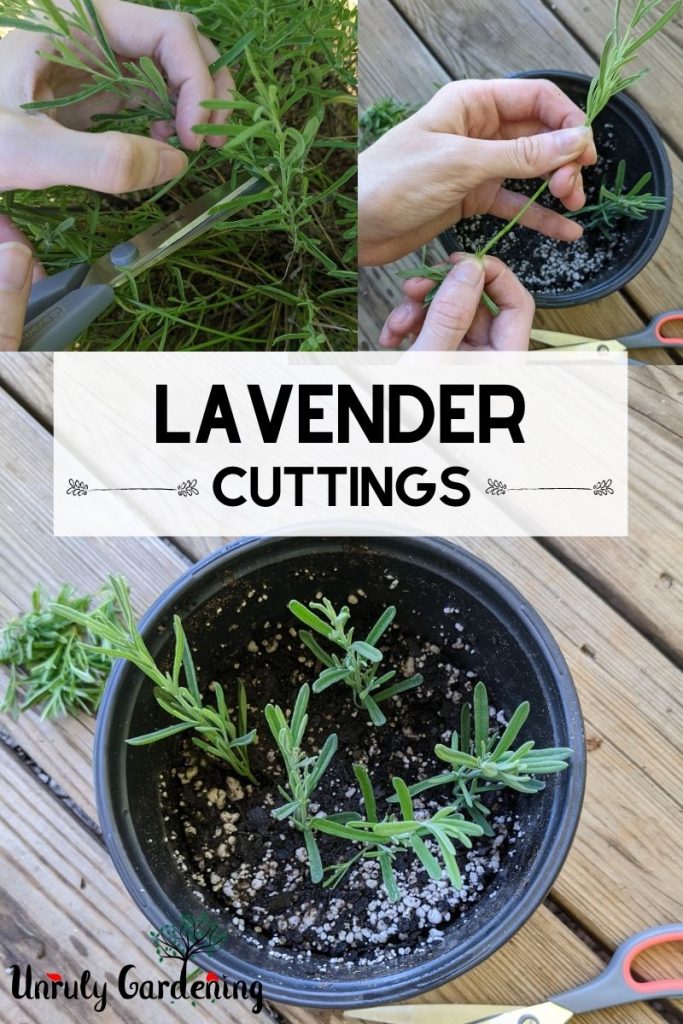
Step 2: Take the Cuttings
Using sharp scissors or pruning shears, clip off the top 4-6 inches of a fresh stem that isn’t flowering. Plunge the ends of these cuttings right into a jar of water as soon as you cut them so they don’t dry out on you!
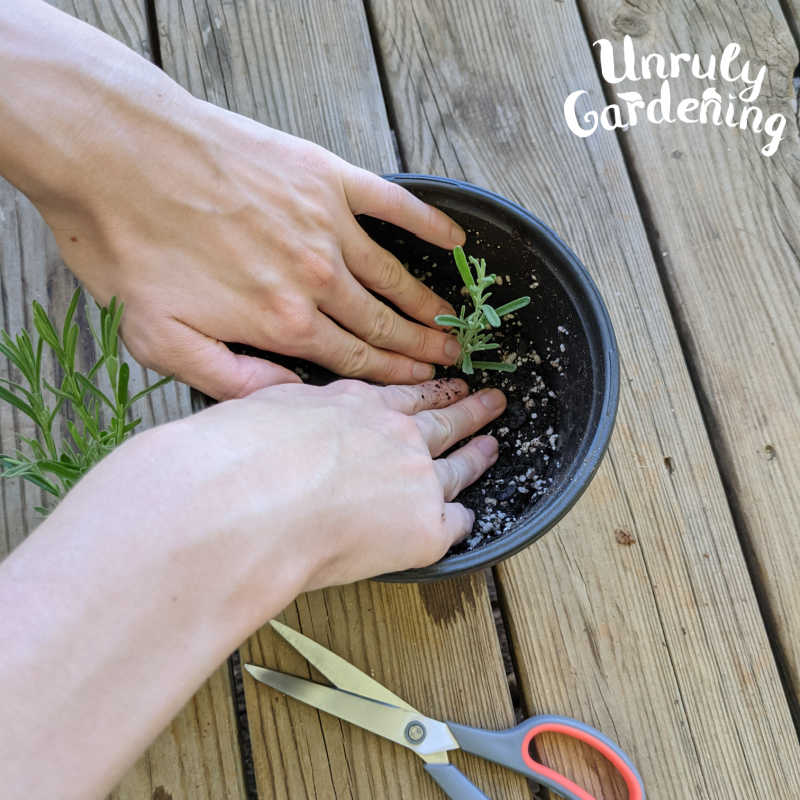
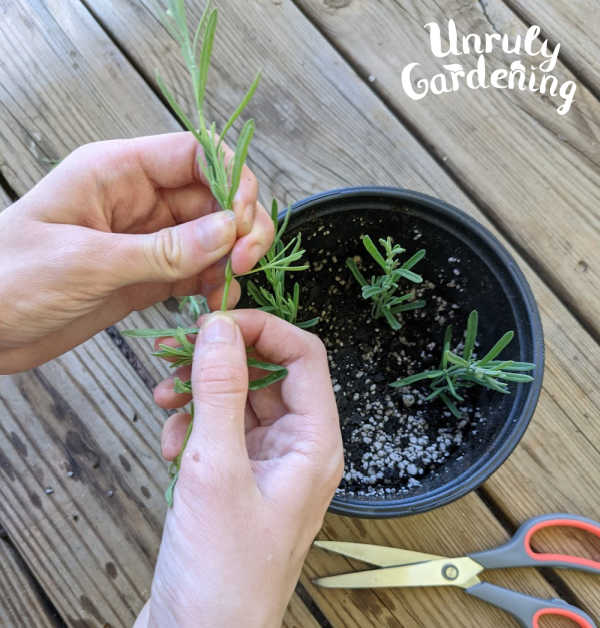
Use a pencil (or your finger) to poke holes in the soil. Strip the bottom half of the lavender of its leaves, and tuck the bare section of the stems into the holes, gently using your fingers to push the soil in closer and tamp it down. Repeat until you have several plants per pot.
(Don’t discard the leftover leaves! Lavender leaves are useful for food and natural medicinal purposes!)
What about rooting hormones?
Some people use commercial rooting hormones on their cuttings. (Not recommended if you plan to eat or use your lavender for herbal purposes.) Some people use natural rooting hormones, such as honey, or willow tea. Others – like our family – use none at all. It’s down to personal choice, really.
Keep the soil moist, warm, and in indirect sunlight. It may help to secure a clear plastic bag with a few airholes stabbed along it around the top of the pot, enclosing the cuttings, helping to keep a constantly moist and warm environment.
You’ll know if your cuttings have rooted by the appearance of new growth- that means you’ve succeeded, and the cuttings are growing!
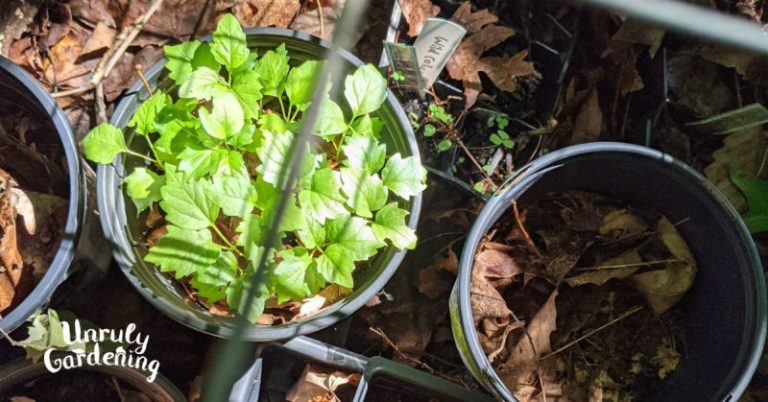
The roots will be very few and fragile- ideally, leave the cuttings in the pots to keep growing for at least another month or so, but start letting the soil dry out more between watering. Breaking the roots will most likely kill the plant completely at this stage, so if you have to transplant it into another pot early, be careful!
Lavender cuttings will take about 3-6 weeks to root. Grow up cuttings in pots until they are large enough and have a strong enough root system to survive being planted into the garden.
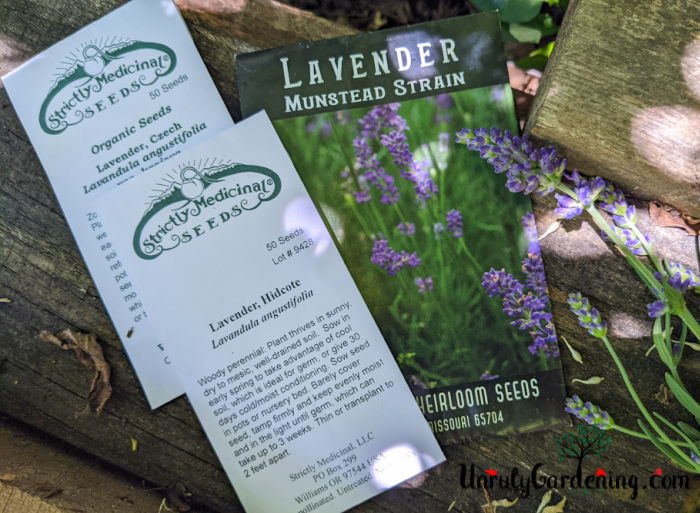
How to Start Lavender From Seed
Starting lavender from seed is challenging, but it’s not that scary! It takes some patience and care, but you can potentially end up with a field of lavender from just a few packets of seeds!
Scarification
Scarification (weakening the seed coat for easier sprouting) is sometimes considered an optional step, but it’s a very useful one. If you’ve tried starting your lavender from seed a few times without scarifying them, and they just won’t sprout, try scarifying the next batch!
To scarify your seeds, you will need:
- Lavender Seeds
- Sandpaper
That’s all!
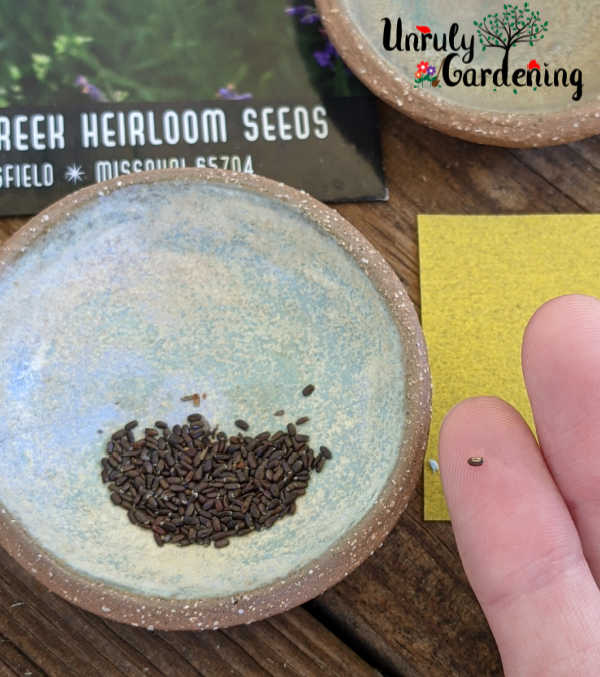
- To scarify lavender, take up a seed in your fingers, and gently rub it against the sandpaper. Your goal is to break down the outer coating of the seed – make sure to stop once you’ve made it through!
- There will be a lighter color where you were rubbing the seed against the sandpaper. You don’t want to go much further, because you don’t want to damage the seed itself- just the outer seedcoat. Plant immediately after scarification, since scarified seeds don’t keep.
Cold Stratifying vs Direct Planting
There are a few methods of starting lavender seeds – one is the cold stratification method (our favorite way to start lavender seeds), and another is direct planting (without cold).
The direct method involves putting the seed right into seed starting trays, just as you would other flowers and veggies. For the cold stratification method, you would put the moistened seeds in the fridge a short while and then bring out to germinate at warmer temperatures.
What is cold stratification?
Some seeds need a period of cold weather to break their dormancy so they’ll sprout – in nature, this happens naturally over the winter, the cold and the wet working together so that when spring’s warm weather and sunlight get to work, the seeds will germinate! The home gardener can use their refrigerator to mimic this effect.
To plant lavender seeds, you will need :
- Lavender seeds (scarified, right before planting)
- Seed starting soil/mix
- Water
- Mixing container
- Seed starting trays
- Sealable plastic bag (if cold stratifying)
For the cold stratification method:
- Start by taking a small scoop of seed starting mix and placing into your mixing container. Slowly add small trickles of water and work it in, until the soil is evenly moist, but not water-logged.
- Press the soil into your seed starting trays.
- Now take your scarified lavender seeds, and press them into the surface of the soil, tamping them in with your fingers. Don’t cover the seeds.
- Place the seed starting tray into a freezer bag and place in your fridge for 2 to 3 weeks.
- Once your seeds are finished cold-stratifying, it’s time to move them to the light!
- Place the trays in an area where they’ll be around 50 to 65 degrees F.
For the direct planting method:
- Moisten the seed starting mix and press into seed starting trays, as described above for the cold stratification method.
- Press the seeds into the surface of the soil, but leave them uncovered.
- Move the tray to an area with light, and where you can keep them cool and moist. (50 to 65 degrees F).
Wait & Watch
Watch your pots, keep them evenly moist but not waterlogged, and wait: Lavender can take anywhere from 14 days to 90 days to germinate, so patience is key!
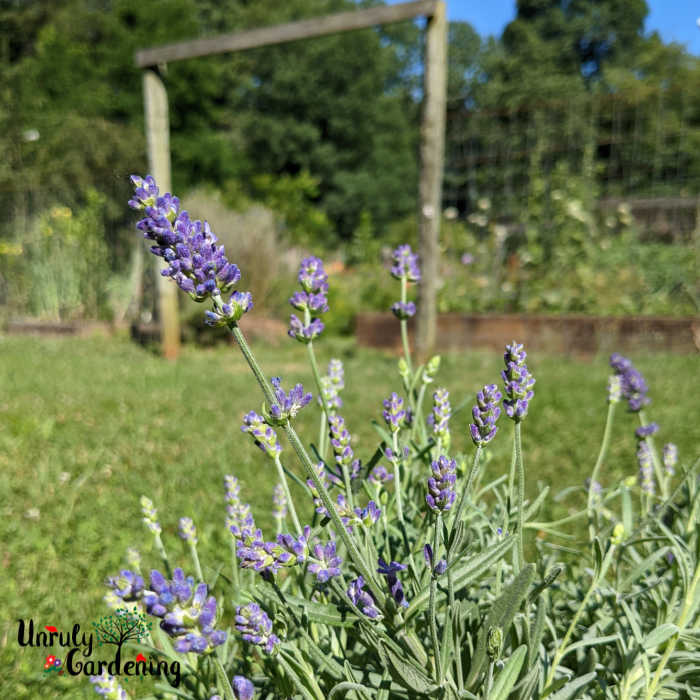
Growing Tips for Lavender Plants
In general, plant lavender about 2-4 feet apart. You can plant in the spring or fall.
When to Plant
Spring, after all risk of frost has passed, is the ideal time for planting most lavender plants. It gives them plenty of time to get well-established before winter and cold weather hits, raising their chances of survival.
However, if you live in a climate that doesn’t exactly experience winter, but does experience an exceptionally hot summer that tends to bake your plants, then fall planting may be your friend. Sometimes climates that get very heavy rainfall in spring are also better off planting lavender later in the year, so the young plants don’t get drowned, or so waterlogged that they end up with root-rot.
Light
Lavender wants full sun! That means it needs a minimum of 6 hours of direct sunlight a day to be happy. They can tolerate a little shade, but they don’t really like it- a lavender in the sun is a happy lavender.
Soil
Avoid planting your lavender anywhere that stays constantly wet or moist- that’s a recipe for root-rot waiting to happen. Lavender likes quick draining soil. We’ve had great success growing lavender in raised beds with a little sand mixed in for good drainage.
If your lavender is just completely failing to thrive, consider getting your soil tested – if you have super acidic soil, lavender isn’t so fond of growing in that. Amending the soil so you have neutral or slightly alkaline soils might fix the problem.
Water
Avoid overwatering lavender. Potted lavender plants only need watering about once a week- and in most climates, once your lavender plants are established, the rain will often give them plenty of moisture. Lavender is a drought-hardy plant, so it can take a dry spell!
Fertilizing
Since lavender thrives in poor to medium-fertility soils, there’s usually no need to fertilize them. In fact, giving lavender a lot of fertilizer has the potential to make your plant decide not to bloom, or could outright kill it!
An exception here is that sometimes, in the spring, some people like to spread about an inch of good-quality compost around the base of the plant, especially if it’s older.
Pruning
Regularly pinching off the tips of your young lavender plant as it grows encourages branching and a bushier plant, helping shape them into a denser shrub. As a bonus, you also get a mini harvest of lavender leaves when you do it!
After your lavender has finished flowering, use sharp pruning shears to cut back all the stems by one third, which will also help shape the plant, and encourage even more branching.
Pruning is important for extending your plant’s lifespan, because from the center out, your lavender plant is trying to turn into wood. Nothing can put this off forever, but regular pinching and pruning can help slow down the process, extending the lifespan of your lavender plant.
Lifespan of Lavender
With proper care, lavender plants can last about 10 years. After that, they begin to decline, so if you dearly love that particular plant, you may want to take what cuttings you can off of it and attempt to propagate it. Your lavender can’t be truly immortal, but you can clone it infinitely and it can live on that way!
Without proper care and pruning, you can expect a lifespan more along the lines of 3-5 years. This could be drastically shorter or possibly longer, depending on your climate, soil type, and so on.
Harvesting, Drying & Using Lavender
Lavender’s useful for more than just attracting pollinators and looking pretty! You can harvest and use both the leaves and flowers of your lavender plants, and there’s plenty to do with the both of them!
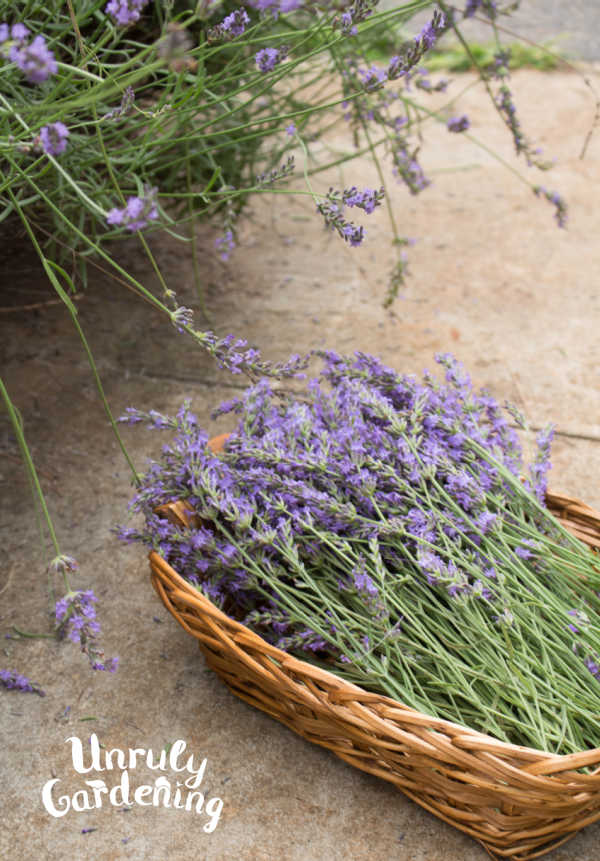
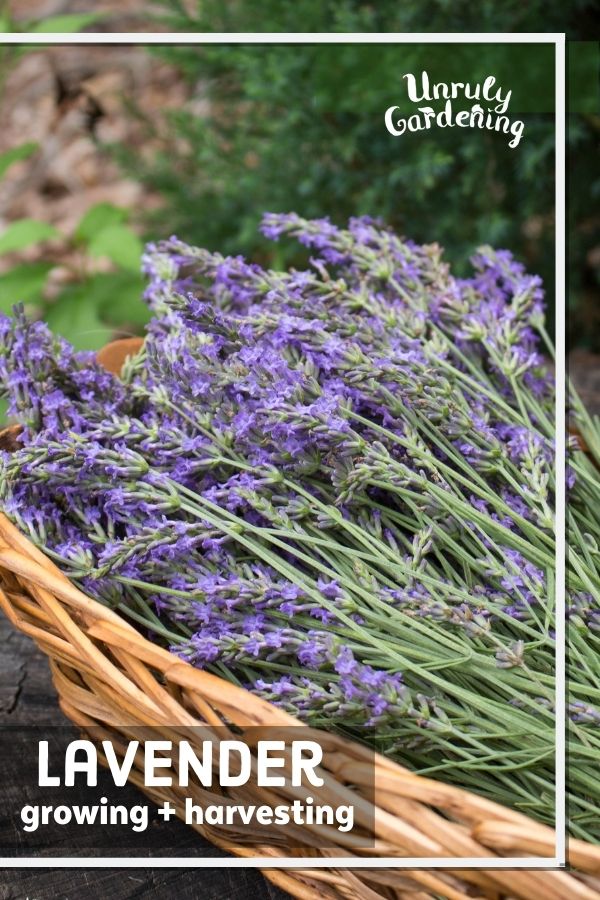
Flowers
Harvest lavender flowers when they’re dry and no rain or dew is upon them. Choose the nicest looking stalks, and leave behind any that are browned or aged. Use a pair of scissors or pruning shears to clip off the flower stalks. It’s a good idea to tap the flower stalks lightly against your hand to dislodge any little critters hiding within.
Leaves
Lavender leaves have lots of uses too! They can be pulled or clipped off, or saved when you’re pruning or stripping the stems for lavender cuttings.
Drying Lavender
Once you’re back indoors, spread the lavender stalks and/or leaves on a screen, paper towels, or clean dishtowels. Allow them to air dry for several days, until completely dried, or you can use a dehydrator set to around 105 degrees F, checking every hour or so until dry.
Some people also like to hang bunches of lavender bundles upside down to air dry – that works well too! Just keep the bundles on the smaller side to allow good air flow, and hang out of direct sunlight, so the sun won’t fade the pretty purple color of the lavender buds.
Storing Dried Lavender
Once dried, the flower stems and leaves can be stored in brown paper bags (lunch bags work great) or lidded glass jars, out of direct sunlight. Be sure to store in a dark place, so the colors and freshness won’t fade.
Don’t crumble the dried herbs to a powder until right before you’re going to use them. This helps the volatile oils stay around longer and will give you best results. Shelf life of dried lavender flower buds and leaves is around one year, or until the color and scent has faded.
Using Dried Lavender
Lavender flowers and leaves can be infused in oil, turned into salves, lotion bars, bath soaks, and soap, or infused into vinegars and tinctures. Please see our sister site, The Nerdy Farm Wife, for 10 Things to Make with Lavender!

I grew lavender for the first time this year and this article was very helpful! Thank you!
Hi Patricia! I’m so glad you found the article helpful! ❤