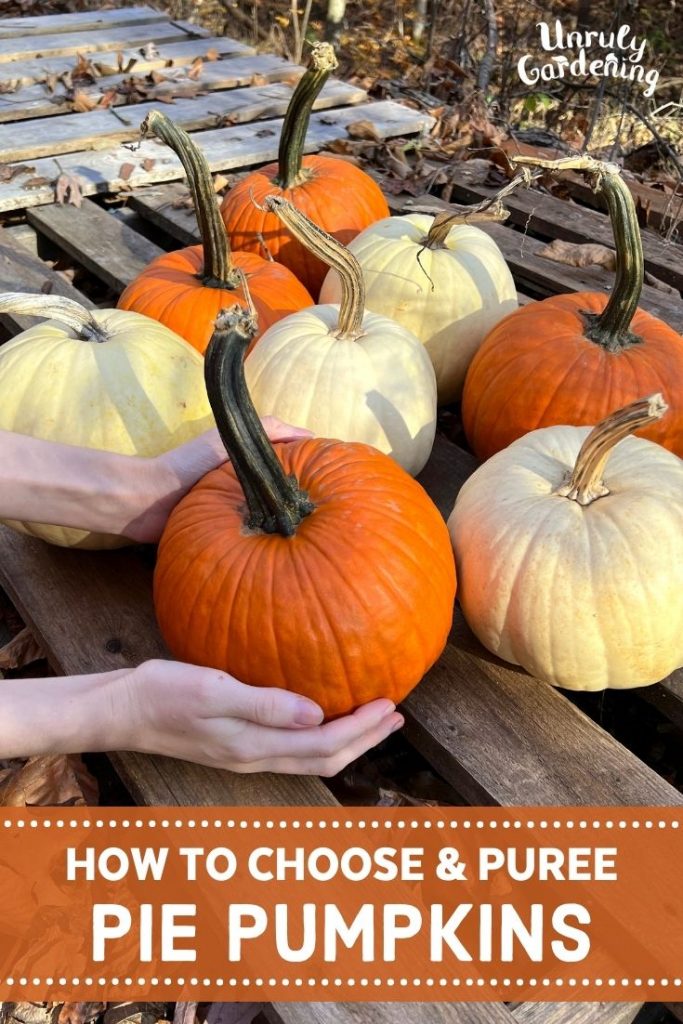
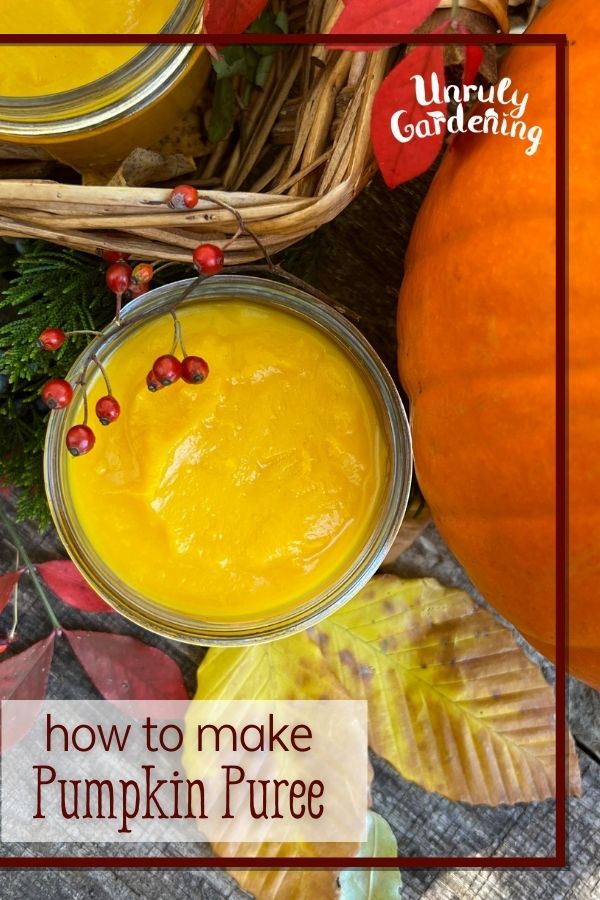
How to Choose & Puree Pie Pumpkins
Learn how to choose the perfect pumpkin for pie-making, plus how to make, store, and freeze pumpkin puree!
Choosing a pumpkin
No matter if you’re buying a pumpkin or growing it yourself, you’ll want to make sure you’ve got the right kind before you turn it into pie!
The sort of pumpkin you’d pick out for carving isn’t the same kind you want for pie.
Carving pumpkins have thinner walls, with less flesh on the inside. This flesh is often more stringy than a pie pumpkin’s flesh.
These pumpkins are usually orange, but can come in a wide variety of shapes and sizes, and are often found in ‘pick your own’ pumpkin patches. Great for decoration, but not as good for eating!
Pie pumpkins, sometimes also known as sugar pumpkins, are different.
Pie Pumpkin Traits
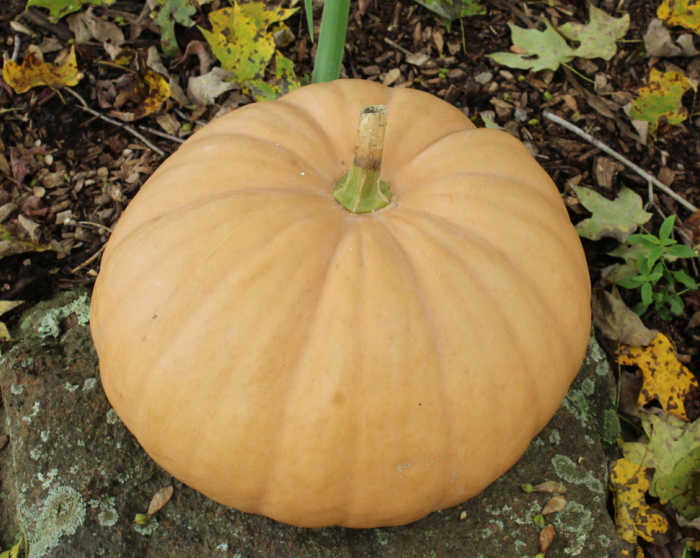
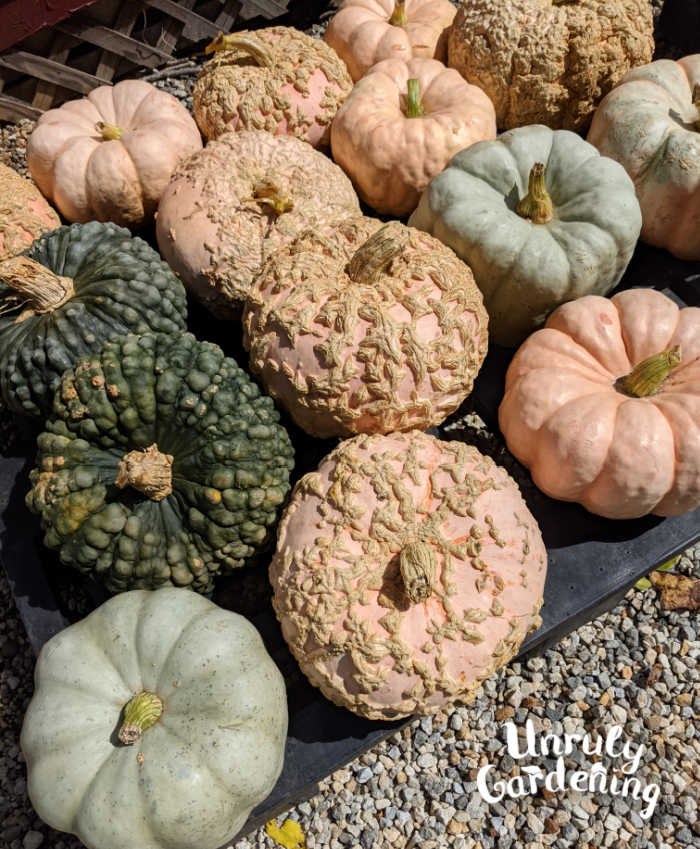
They have a higher amount of natural sugars in them, as well as thicker walls of flesh on the inside. This leads to a smaller seed cavity in the middle. Pie pumpkins, too, can wildly vary in size, shape, and color, especially once you start looking at heirlooms. Sometimes they can be very small, or very large. They can be tall, squat, round, ridged, lopsided. They can be any color from bright, standard-pumpkin orange, to blue, to creamy tan, and beyond.
Pie pumpkins, if picked up, can sometimes surprise people with their weight, since they’re often slightly heavier than they appear they should be when inspected visually.
If you pick up a carving pumpkin and a pie pumpkin that are each the same size in either hand, you can feel the weight difference.
Growing Your Own Pie Pumpkins
Want to grow your own pie pumpkins? It’s just as easy to do as growing regular pumpkins!
Just make sure the variety of pumpkin you’ve picked out is a ‘pie pumpkin’ or ‘sugar pumpkin’. There’s any number of suitable varieties to enjoy growing, but here’s a few to get you started:
- Long Island Cheese Pumpkin
- Winter Luxury Pie Pumpkin
- New England Sugar Pie Pumpkin
- Jarrahdale Pumpkin
- Flat While Boer Pumpkin
There are, of course, many more varieties to choose from. Search for your favorites!
Should you choose to grow your own pie pumpkins, you’ll find as an added bonus that many of them have lovely, interesting colors and shapes, meaning they can serve more than one purpose; namely, being decoration around your home until you’re ready to turn them into puree!
Many of the heirloom pie pumpkins, if properly cured, will be good for a very long time. Varieties such as, for example, Long Island Cheese, can keep for months!
Curing
Homegrown pumpkins need to be cured before storing- we only turn our homegrown pumpkins into puree after curing them for a few weeks first (to make for a better, sweeter puree) but this may simply be personal habit. Try both fresh and cured, if you’re so inclined to experiment, and see what you think of the results!
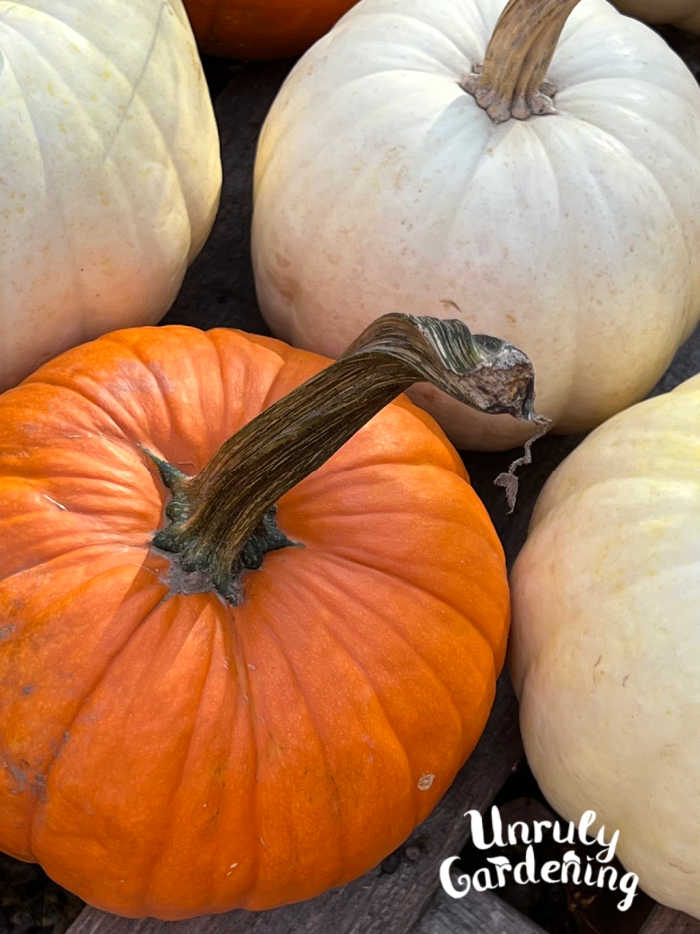
To cure, simply brush off any dirt on the pumpkins, and place them (cut with a considerable amount of stem still attached: 4+ inches, ideally) somewhere warm and completely dry for 2 weeks, making sure no moisture gets to the pumpkin.
Some people say that’s enough, and go ahead and store their pumpkins, while others turn the pumpkin upside-down and let it cure for another 2 weeks before storing somewhere cool and dry with good air circulation.
A covered porch or a sunroom are all good places to try curing your pumpkins at. We use our front porch!
During this process, the stem will begin turning color from green and fresh, to brown/tan and dry. Don’t break off the stem! Pumpkins with no stems spoil quicker, even when properly cured.
If you accidently break off the stem of a pumpkin, plan to use it within the next few days.
Making Pumpkin Puree
You will need:
- 1 or more pie-worthy pumpkins
- Olive oil
- A baking pan with raised sides
- Parchment paper
- A blender or food processor
Roasting a Pie Pumpkin
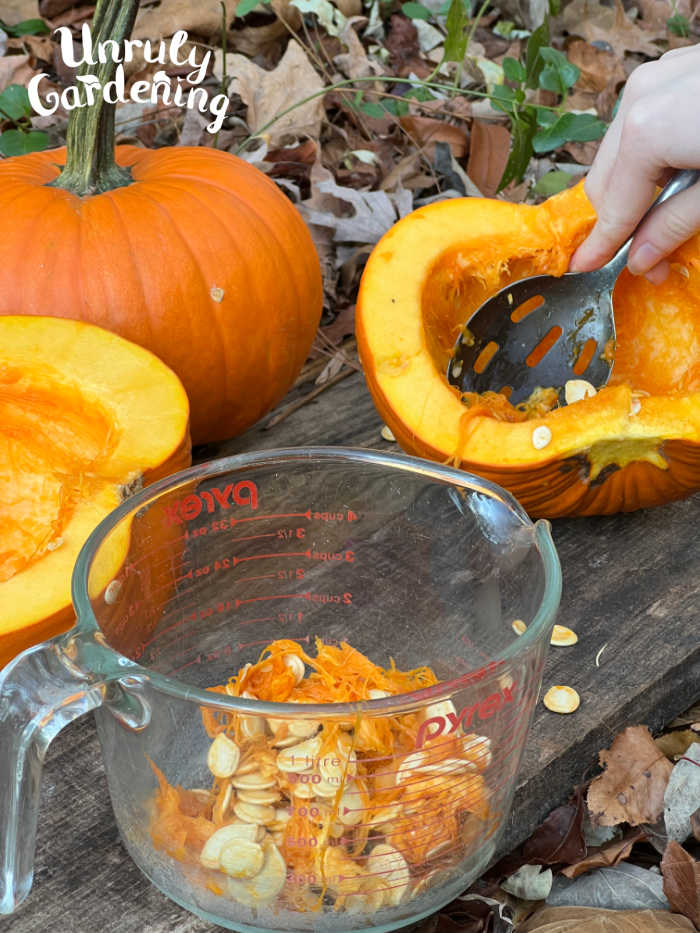
Preheat the oven to 350 F. While it’s heating, prepare your pumpkins by slicing them in halves or fourths, and scooping out the pulp and seeds of their insides, and place these aside. Remove the stem.
Small pumpkins can be roasted as halves or fourths. Large pumpkins roast up better if they’re cut into fourths, then each of those fourths cut into half, or simply cut into large chunks.
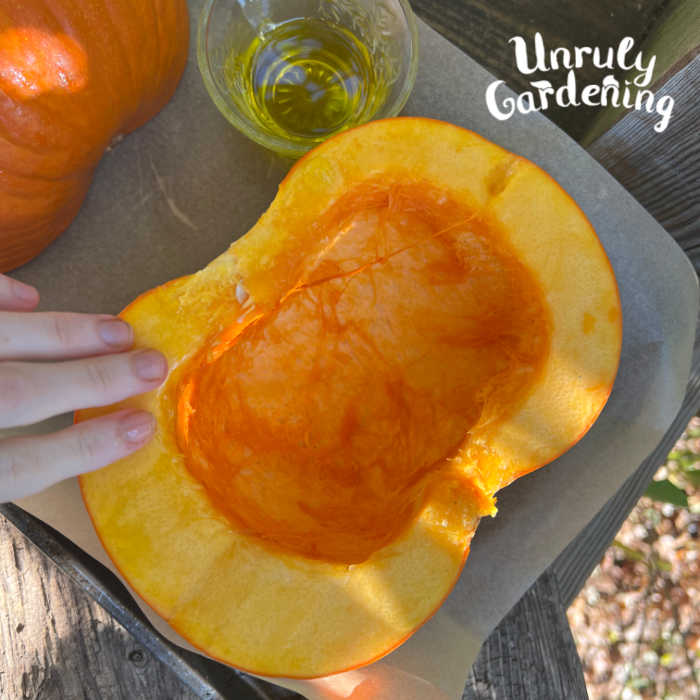
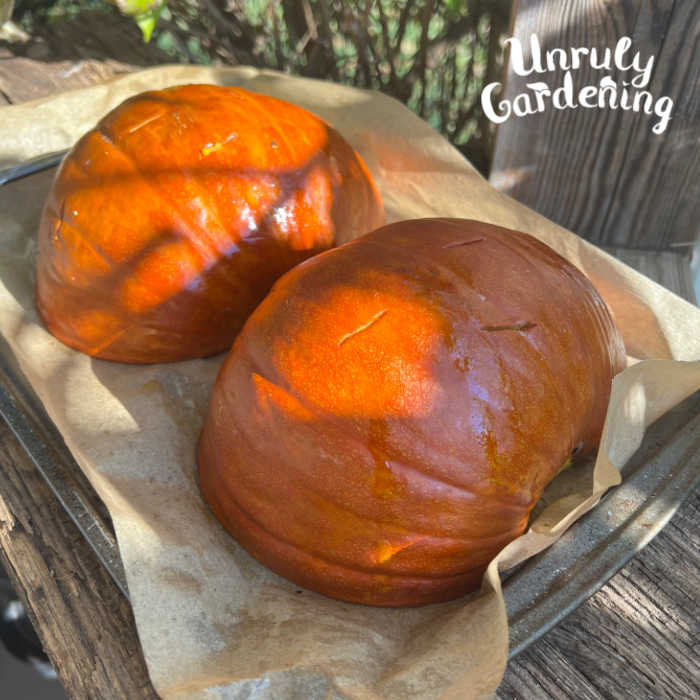
Once your pumpkin is divided up to your liking, cover a baking pan with parchment paper. Rub olive oil on each chunk of pumpkin with your fingers, all over the cut sides and inner part, but not on the skin. Place the chunks of pumpkin skin-side-up on the baking sheet after oiling.
Now you just have to roast the pumpkin until it’s completely soft and tender: when you stick a butter knife in it, it should easily glide through the flesh and skin of the pumpkin. The feel of it personally reminds me of slicing through a stick of very soft butter.
The amount of time it will take for your pumpkin to reach this stage will vary- but as a rough guideline, it usually takes about (or at least) 45 minutes to 1 hour to get tender enough to puree.
Once tender enough, remove pumpkin from oven. Time to puree!
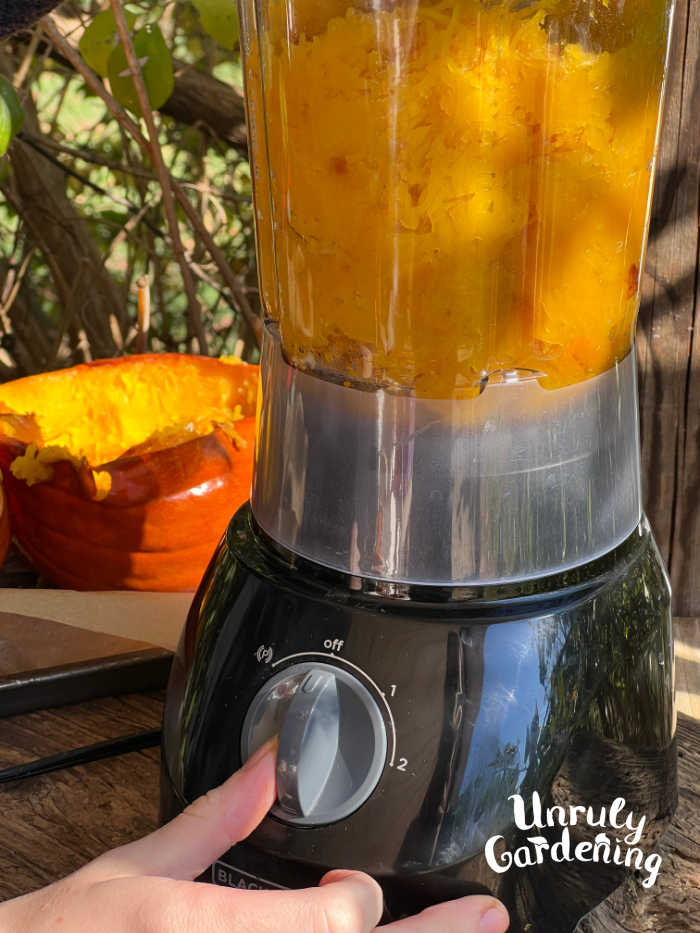
Pureeing Pie Pumpkins
Pull out your blender or food processor. Using a spoon, scoop out the soft roasted pumpkin, leaving the skin and any water that’s collected in the pan behind. Puree the pumpkin until smooth.
Ripe pie pumpkins should easily puree without need of added water. Pumpkins such as Long Island Cheese, at least as far as we’ve noticed, release plenty on their own, and may, in fact, have so much water in their flesh that you might find a thin amount collecting on top of the puree. Pour or scoop this off if desired- large amounts can end up diluting your finished puree and can change the texture.
If your pumpkin will not puree smoothly, try adding a small amount of water. Sometimes a pumpkin refusing to puree can also mean you didn’t roast it long enough- try roasting your next pumpkin for 10 or 15 minutes longer.
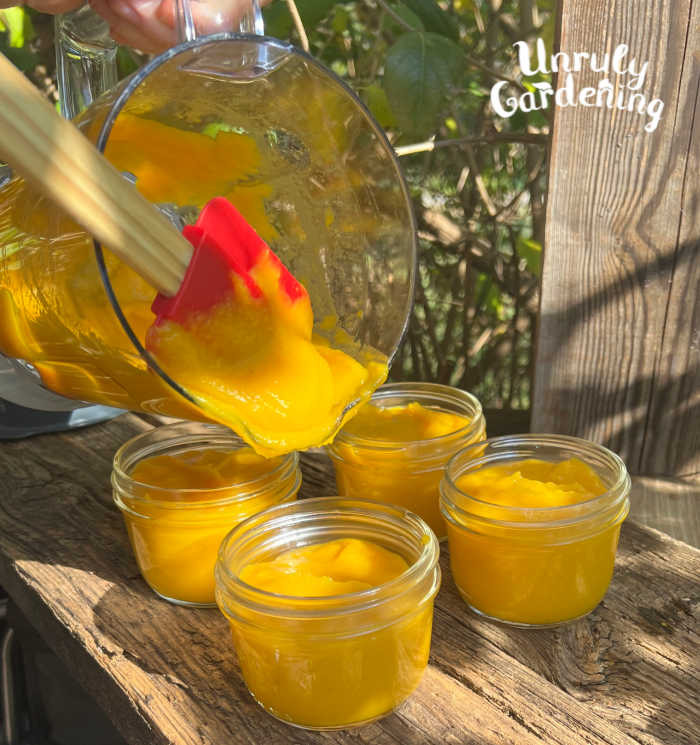
You homemade puree will be thinner and lighter in color than the stuff you find in store-bought cans. This doesn’t affect the flavor or texture of your finished baked goods in the slightest- and if you want to put that to the test, then once you’ve pureed it all up, you can go ahead and use it immediately if you so choose!
A pumpkin pie made of freshly pureed pumpkin is one of life’s many little delights. It’s also a good way to soothe any doubts you may have about your puree: you can clearly taste the pumpkin in pumpkin pie, so if anything is odd about it, you’ll be able to tell!
Tips for Storing Pumpkin Puree
Short-term, keep the puree in your refrigerator for two or three days. Considering how much puree one good-sized pumpkin makes, this often isn’t the most practical storage option, unless you’re planning on baking a lot of pumpkin-based recipes, or you just roasted a very small pumpkin instead of a large or multiple ones.
As for the long term, you can’t safely can homemade pumpkin puree. (Though it is possible to pressure can pumpkin chunks.) So your only option for long-term storage is freezing!
To freeze pumpkin puree, weigh or measure out the puree into freezer-safe containers or bags- through personal experience, we strongly recommend not freezing it all in one lump. You do have to thaw the pumpkin to use it, and it’s best not to re-freeze a dethawed, previously-frozen item. Dividing the pumpkin into individual containers works much better.
If you have favorite pumpkin recipe that you know you would like to make in the future, it’s best to measure out the exact amount of pumpkin called for in the recipe, and freeze that amount in a container by itself, repeating for as many portions as you want.
Whenever you want to use the pumpkin in a recipe, pull it out from the freezer, and thaw it. This can be done slowly- left in the refrigerator until thawed- or quickly- by putting the puree in the microwave or a small pan on a low-heat burner.
Depending on the amount of pumpkin you (and your household) eat in a year, it could very well be easier than you’d think it’d be to make up and freeze a year’s worth of pumpkin; all in just a day or two’s work!
[print-me target=”body”/]