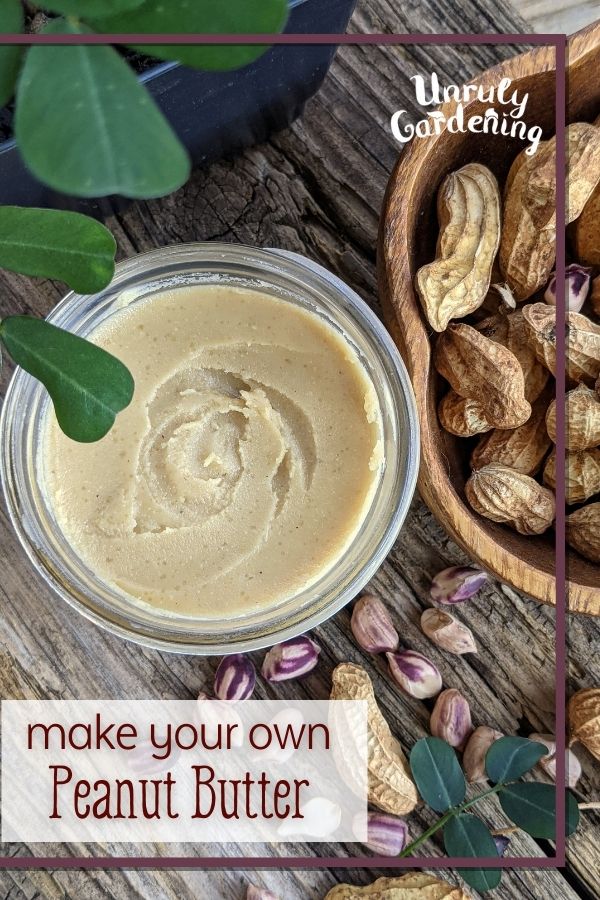
How to Make Homemade Peanut Butter
After you’ve grown your own peanuts, try turning them into homemade peanut butter! Our version is naturally sweetened with a touch of maple syrup, with a pinch of sea salt added for flavor.
Don’t have homegrown peanuts? No problem – you can make this recipe with store-bought too.
Before You Begin
This recipe was made using our homegrown peanuts that were already cured.
If you have never grown or cured peanuts before, but are interested in learning how, check out our article: How to Grow & Cure Peanuts. It’s fun & easy to grow your own peanuts in your garden and there’s nothing like eating homemade peanut butter made from your own homegrown peanuts!
If you’re not using homegrown peanuts, you can still follow this recipe by purchasing raw, unsalted, unroasted peanuts from the store. If the peanuts have skins still on them, begin from the ‘Roasting & Removing Skins’ section below.
If your peanuts do not have skins, then begin the recipe at the point where the de-skinned peanut are roasted in the oven for 4 minutes.
Preparing Homegrown Peanuts
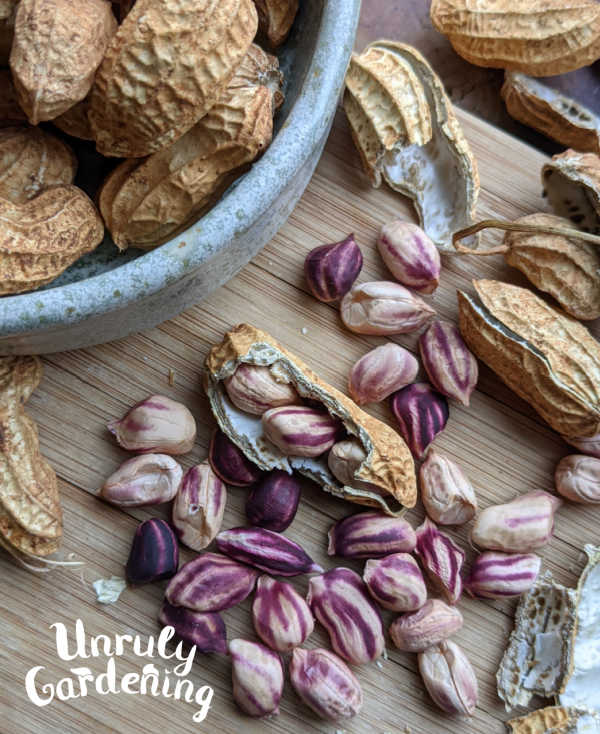
Start by shelling your fully cured peanuts free from their pods, and collecting the good nuts in a bowl until you have 1 cup of peanuts. If you come across any shriveled, moldy, or rotten peanuts, toss them out!
This may take an hour or so, depending on your shelling speed, how many of your peanuts are fully developed, and so on.
Once you have a cup of shelled peanuts, you can either proceed with the recipe, or store the peanuts in the refrigerator for a week or two until you’re ready to use them. Just don’t forget they’re in there!
Homemade Peanut Butter Recipe
This recipe uses natural ingredients and does not contain preservatives. It’s naturally gluten free and dairy free, and if you’re careful what oil you use, it can be soy free too.
Equipment Needed:
- baking sheet with parchment paper
- clean terrycloth dish towel
- strong food processor or blender
- an 8-ounce glass jar, with lid
Ingredients Needed:
- 1 cup shelled peanuts (in this recipe, we’re using Fastigiata Pin Striped- delicious and beautiful heirlooms we grow every year!)
- 1/8 to 1/4 tsp sea salt
- maple syrup, to taste (or honey, if you prefer)
- peanut oil or other vegetable oil, to preferred texture
Roasting & Removing Skins
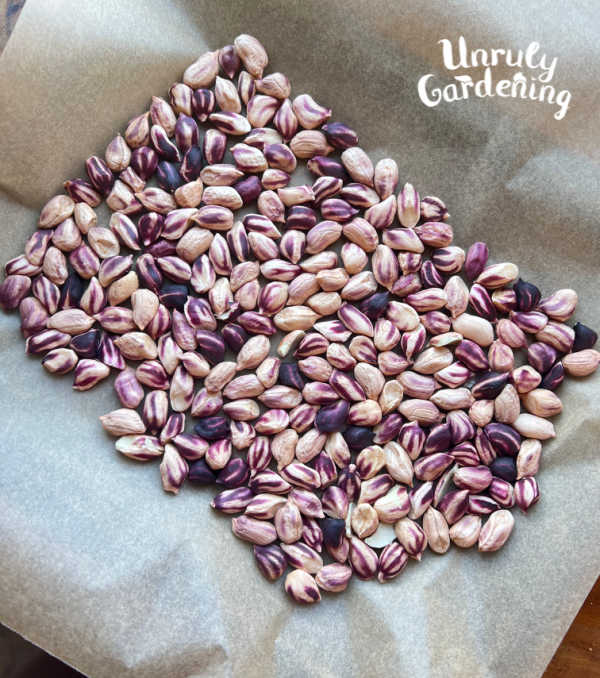
- Preheat your oven to 350 F. While you’re waiting for that to heat, cover a baking sheet with parchment paper, and pour your cup of shelled peanuts on top. Spread them out in a single layer.
- Once the oven’s hot, slide in the pan, and roast the peanuts for 5 minutes. Pull out the pan, stir the peanuts around, adjust them so they settle back into a single layer, and roast for another 5 minutes.
- When that step is finished, remove the nuts from the oven, but don’t turn the oven off quite yet- we’ll need it again in just a few minutes!
- Spread out the terrycloth towel, and dump the mostly roasted peanuts into the center. Rub the peanuts vigorously in the towel to remove a large portion of the skins from the nuts. This won’t completely clean all of them, but it will help shorten the work!
- Use your fingers to remove the still-clinging sections of the skins from the peanuts. Some small fragments are okay to leave, and aren’t going to harm the taste of your peanut butter.
- Pick out all of the clean and mostly-clean nuts by hand and put them aside, until you’re all done. Transfer the cleaned peanuts back to the parchment-paper covered pan, and put them back in the oven.
- Roast the peanuts for another 4 to 5 minutes, stirring them around halfway through the roasting time. After 4 minutes, remove from the oven, and immediately transfer hot nuts to a food processor, or strong blender – such as a magic bullet or ninja.
Making the Peanut Butter
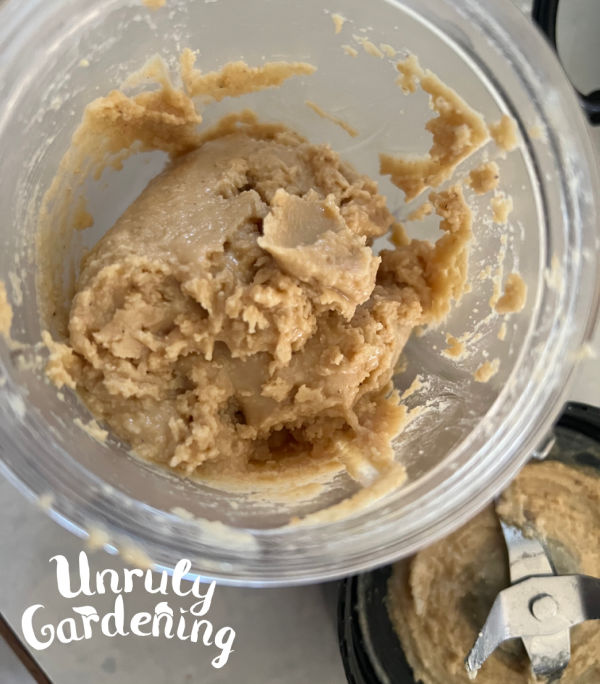
Break up the hot roasted peanuts by pulsing and processing them until they look like wet sand, and start to clump together.
At this point, add the salt, then the maple syrup, and oil. Start with 1 tsp each of syrup and oil, and as you blend, keep adding more of both, adjusting to taste and texture.
Keep tasting and adding until it’s just as sweet as you like! You may also want to up the amount of salt to 1/4 tsp, if your tastes run to the saltier side.
On Maple Syrup & Oil Balance
While making peanut butter, we always use an equal amount of oil as maple syrup when adding 1 tsp at a time. For example, if you add 1 teaspoon of maple syrup, add 1 teaspoon of oil at the same time. If you add another teaspoon of maple syrup, add another teaspoon of oil.
If you don’t, the peanut butter can seize up, and the only way to fix that is to add more oil until it’s willing to let itself be mixed again.
Once your peanut butter is just as sweet as you like it, set aside the maple syrup. If the peanut butter is not quite yet smooth at this point, then just keep adding more oil (by itself) gradually and blending it in until the peanut butter goes smooth.
You’ll want to keep adding oil, 1 to 2 tsp at a time, as you keep blending. The goal here is get the nuts to smooth out into a spreadable paste, without being grainy. It can take a while to blend it this smooth – just keep going!
Some people do not like to add oil to their homemade nut butter and that’s fine too. If you have a powerful blender or food processor, you can just need to keep blending a while to see if that does the trick, before adding too much oil.
If you have a wimpier blender or food processor, adding oil will help things along quite a bit!
My peanut butter isn’t forming a paste!
If you’re processing and processing and processing, but your peanut butter just isn’t going smooth, the problem could be your food processor/blender; the more high-powered they are, the easier making peanut butter will be.
Our mini food processor isn’t strong enough to handle making peanut butter, but our mini magic bullet blender (that we most often use to make smoothies) works well.
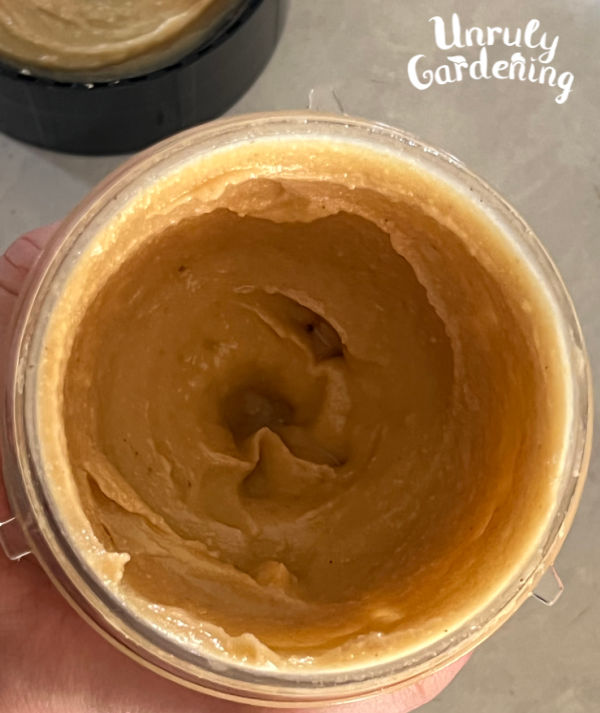
Once the peanut butter is smooth and spreadable, it’s done! It’ll perhaps look and feel bit thinner than what you’re used to, but it’ll thicken up a bit later in the refrigerator- and don’t worry, even after the thickening, it’ll still be spreadable!
You can use your peanut butter immediately, or store it for later use.
It’s delicious on sandwiches, or made into peanut butter cookies or homemade peanut butter cups. You can even snack on it by the spoonful, with or without a few fresh apple slices.

Storage & Shelf Life of Homemade Peanut Butter
To store, use a spatula to pour, scrape, and coax every precious bit of peanut butter into a suitable glass container, such as a wide-mouthed mason jar, and cover with a lid. Store the jar in the refrigerator, and use within 1 month of making.
Because this peanut butter doesn’t have any preservatives or additives that store-bought peanut butter tends to have, you’ll want to avoid storing it in your pantry, or at room temperature. Store it in your fridge.
Even in the refrigerator, you should toss your peanut butter immediately if it begins to smell rancid.
Your homemade homegrown peanut butter might not have the shelf-life store-bought peanut butter does, but it’s every bit as delicious- if not better – and when you’re eating it, you’ll get the satisfaction of knowing that it came right from your garden!

Homemade Peanut Butter
Equipment
- baking sheet with parchment paper
- clean terrycloth dish towel
- strong food processor or blender
- an 8-ounce glass jar, with lid
Ingredients
- 1 cup shelled peanuts (in this recipe, we're using Fastigiata Pin Striped- delicious and beautiful heirlooms we grow every year!)
- 1/8 tsp sea salt, or more to taste
- 1 tsp maple syrup, or more to taste
- peanut or other vegetable oil, to preferred texture
Instructions
To Prepare Homegrown Peanuts, In the Shell
- Shell fully cured peanuts from their pods.
- Discard shriveled, moldy, or bad nuts.
- You'll need one cup of good nuts for this recipe.
- Freshly shelled nuts can be stored in the fridge for one to two weeks before using.
To Roast & Remove Skins from Raw Peanuts
- Preheat oven to 350 degrees F.
- Spread the peanuts in a single layer on the parchment lined baking sheet.
- Roast for 5 minutes, then remove from oven to stir.
- Return to oven and roast 5 more minutes.
- Remove from oven and dump the peanuts on the terrycloth dish towel.
- Rub the peanuts vigorously in the towel to help remove the skins, and use your fingers to remove most of the remaining skin.
- Return the peanuts to the oven to roast an additional 4 to 5 minutes, stirring half-way through.
To Make the Peanut Butter
- Place the hot nuts in a food processor or strong blender.
- Break up the hot nuts by pulsing and processing them until they look like wet sand, and start to clump together.
- Add the salt, then 1 teaspoon each of maple syrup and oil.
- Blend well, then taste test. Add more salt and/or maple syrup if you'd like for more flavor.
- Remember to keep the balance of maple syrup and oil equal. If you add 1 tsp maple syrup, add 1 tsp oil at the same time, to help prevent the peanut butter from seizing up.
- Keep blending until you get a smooth peanut butter texture. You may need to add a small amount of oil at a time to help. (This depends a lot on type of nut used and type of blender/food processor.)
- Enjoy your natural homemade peanut butter! It can be used right away, or stored in the fridge for up to one month.